
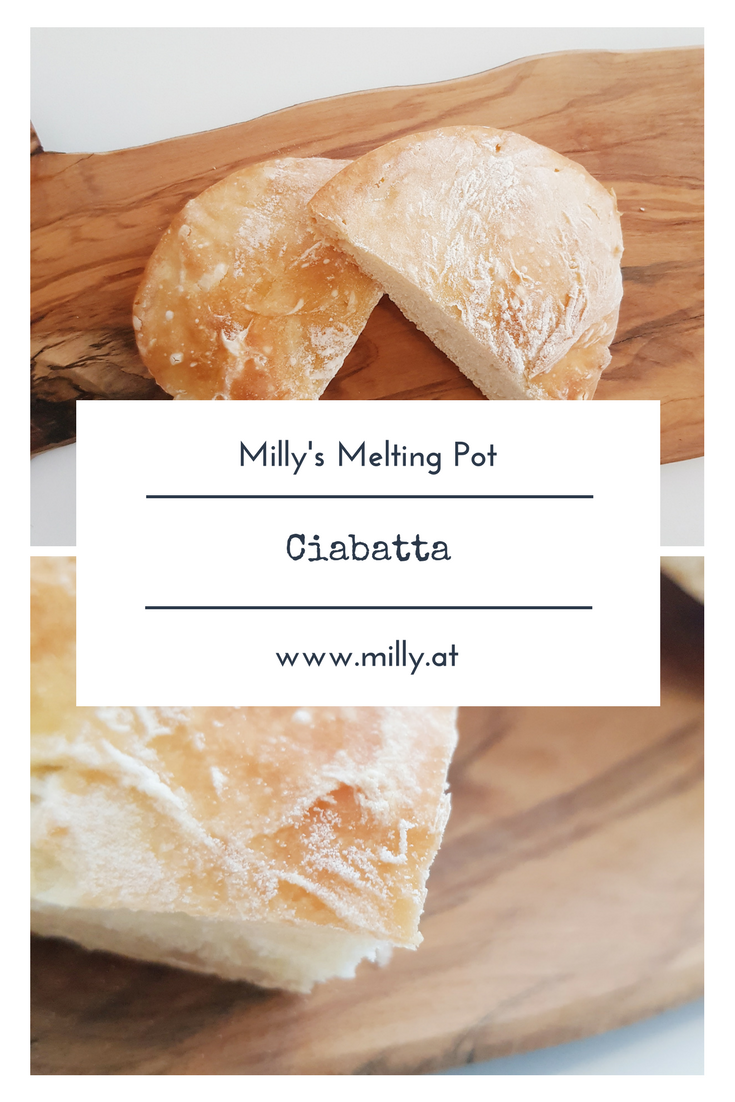
Crispy Ciabatta Bread
When we were little, our mother Jeanne sometimes made entrecôtes with a cream and onion sauce. She would fry the meat in a orange cast-iron pan and make the sauce with, for lack of a better expression, the roasted bit in the base of the pan:) She would serve this dish in the pan and put it on the table while we helped ourselves to our dinner. The fun part however only came after dinner: there was sauce left in the pan and we would lovingly “fight” our father for the honour of soaking up the left over sauce with a crispy piece of baguette. All was fair during this fight and our father often had such fun stealing our pieces of bread. I can still hear him giggle:)
I think everyone can imagine the joy of biting into a fresh, crispy piece of bread that is soaked with sauce. I have tried several times to make bread, but I failed so often. All recipes that I tried and failed at, had one thing in common: they were quick recipes and I got hectic. I had to remind myself why I do all of this: to get rid of the stress. I thought about several articles I read about “Slow Food” and “Slow Baking” and all shared a common philosophie: time is an essential ingredient in preparing food.. one can´t expect delicious food without putting in a certain amount of effort.
So I took a deep breath and I started again..and out came this wonderfully tasty bread. After a lot of reserach and some changing/combining I had a recipe that really worked and was delicious. I hope that it is clear that this is not my recipe. I always try to give credit whereever I can to the people that inspired an idea or recipe (years of solid scientific training!!). However in this case it is hard to give credit to anyone as this recipe was chosen and developped from many others. With such a common food as Ciabatta this is tricky, I will therefor send a thank you into the ether.
As it is often the case with my recipes, this one also requires some patience. However as the working steps are really short and only the waiting steps are long, this recipe can easily be integrated into a hectic workday. What I really like about this recpe, is that the bread has a crust just the way I like it – the trick is to bake it in a closed dish such as a baking dish or a roaster so the humidity can’t escape.
Start by adding the flour, salt and yeast to a bowl. Slowly add the water until the dough is sticky. Now cover this in an airtight manner and leave it for 12-16 hours in a warm place. I was surprised about the small amount of yeast used in this recipe, however as the dough is left to rise for a long time, this makes sense ( a lot of yeast – short rising time; little yeast – long rising time).
The next day you will be able to see that the dough has small bubbles from the active yeast and that its volume has increased. Put a lot of flour on the working space and add the dough on to the flour. With a dough scraper gently fold the dough from one side to the other a few times (do not knead or be too rough as the dough will loose its airbubbles and not become fluffy. Cover the dough and let it rise again for 1 hour.
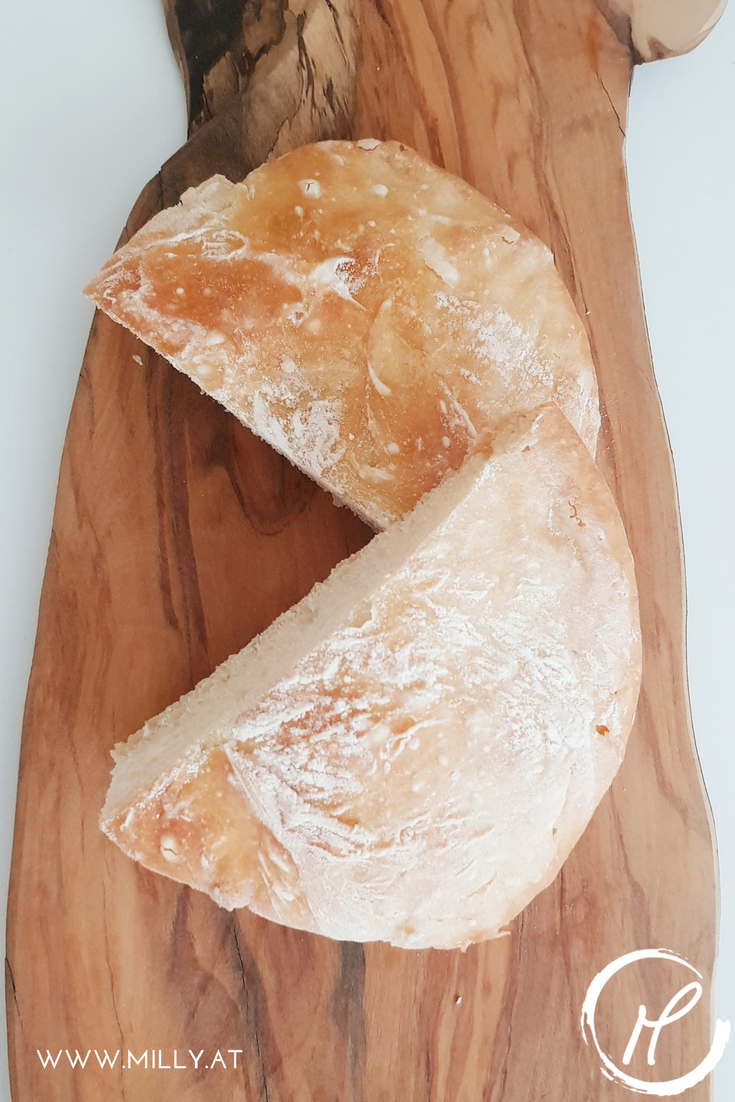
While the dough is resting, preheat the oven at 200°C and let the baking dish that you will be using heat also. I used a porcellaine baking dish with a glas cover but it can also be a roaster (the bread will take the shape of the dish). Once your dough is ready put it in the warm dish, cut the top if you like and let it bake for a good 60 min. Remove the lid 10 Min before the end to allow the crust to crispen. Et voilà:)
It is important to let the bread cool before you cut it, as otherwise it will loose a lot of moisture and become dry.
Shospping list:
- 400 g universal wheat flour
- 1 Tbsp salt
- 1/4 Tsp dry yeast
- 350 ml water
- flour to work with